Setting up Nofence
Getting started with Nofence
Getting started with Nofence
Getting started with Nofence
Getting started with Nofence
Here’s a quick guide to getting started with your Nofence system.
1. Once you’ve received your delivery, open the box and locate the “Getting started” material.
2. Download the Nofence App and sign in.
Search for Nofence in the Apple App Store or Google Play. Once you’ve logged in, add additional users if necessary.
3. Charge the batteries.
Take out the battery out of each collar and remove the protective tape. New batteries arrive at less than 30% charged. You can either charge it in the charger or in the sun. If you're charging directly in the sun via the solar panel and the collar is not on the animal, make sure the collar temperature does not exceed 140°F (60°C). The light on the charger will show as constant green when the battery is fully charged.
4. Once the battery is fully charged, insert it into the collar.
After inserting the battery, let the collar install its latest updates to get the newest features and functionality. This happens automatically as long as the collar has power and mobile signal, and can take about 15 minutes to complete.
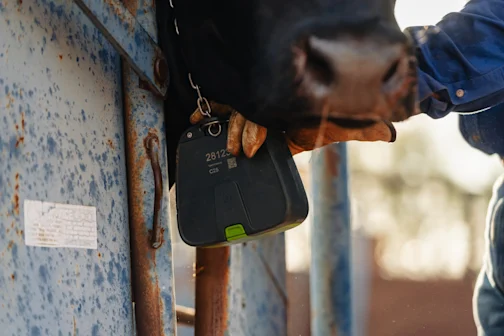
5. Fit the collars on your livestock.
Ensure your own and the livestocks’ safety when attaching the collars. Be sure to carefully fit the collar on each member of the herd, and remember to adjust the collars of the animals who are growing through the season. Give the livestock time to get used to wearing the collar before starting the training.
At the bottom of this article you will find more information about best practices for collar fitting.
6. Follow the set-up instructions for drawing your training pasture.
The training pasture should be within a physically enclosed pasture, and be in an area the livestock are familiar with, and where they feel safe.
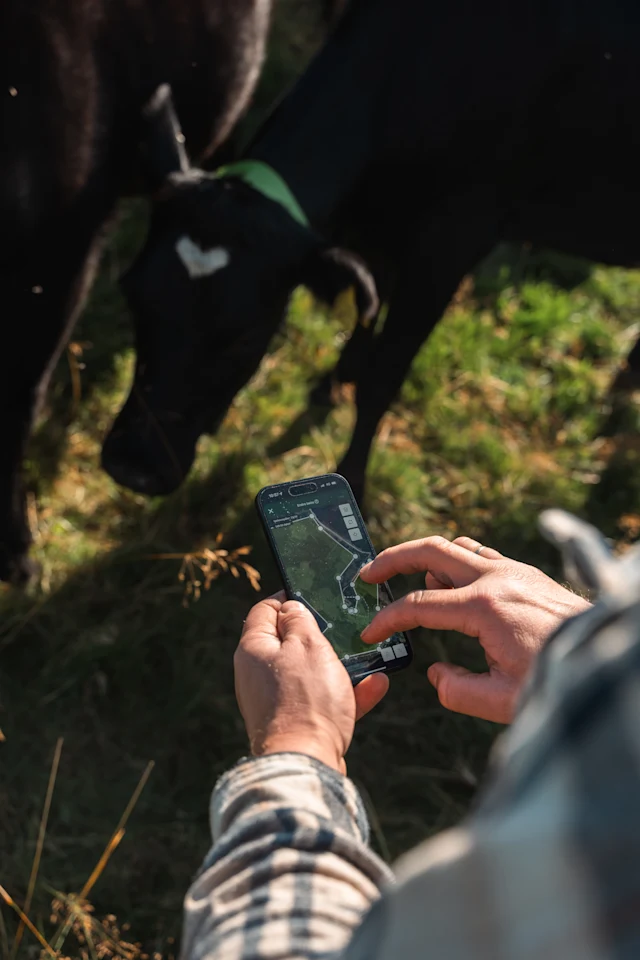
7. Move the collars into the pasture in the app.
Go to the menu and press “move” to transfer the collars to the pasture you have created. Follow the instructions in the app.
8. Move the animals into the pasture.
The virtual fence is activated as soon as the collars have registered a position within the pasture. At this point, the training can start.
Note: You should consider excluding trafficked areas from the virtual pasture. If your livestock is grazing in a public area, we recommend hanging up a Nofence Grazing Poster, which contains a QR code for the public to scan and see your grazing area. To print out your poster and make your collars visible to the people who scan the QR code, enter the app and go to Settings > App Settings > Join public grazing map.
Fit the collars
Fit the collars
After creating your first pasture, you can fit the collars to the herd. To learn more about fitting collars select the collar type below to learn more.
Fitting best practices
Fitting best practices
Collar shouldn't touch the chin
The collar should not pass the chin of the cow, so it does not scrape along the ground while grazing.
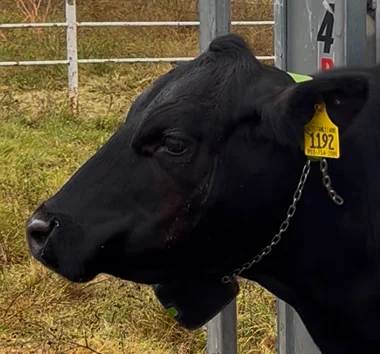
Room for growth
Make sure there is enough space for the cow to grow or gain weight during the season.
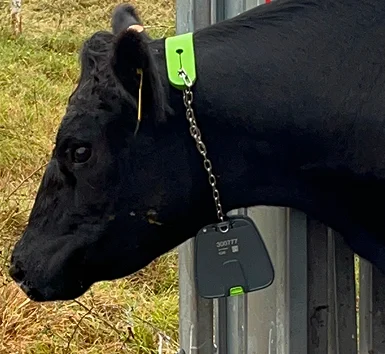
Important: Avoid incorrect fitting
Important: Avoid incorrect fitting
If a collar is fitted incorrectly, you can cause harm to the livestock and damage to the collar. Handle collar fitting with care for both the animal and your safety. This collar is too tight and could cause discomfort or injury.